Isn’t this such a fun part of the year? It’s so encouraging to see so many of you sharing your talents with us on The Keybunch. Today, I introduce you to someone I have known for a while now, we grew up in the same small town, went to the same college, and thanks to the www, we are always checking each others blogs and staying in touch! Meet May who is currently based in Lohr, Germany and writes 2 very interesting blogs here and here.
Over to you, May!
===================================================
Hi, I am May, a homemaker based in Germany. I love sprucing up my home with creative art and work, most of the time made by my kids and me. I get inspired by my kids, magazines and window shopping. Yes window shopping, because here in Germany, a lot of art and creative work which is quite simple to make at home is sold in shops. I take delight in admiring and also making a mental note on how it may have been prepared.
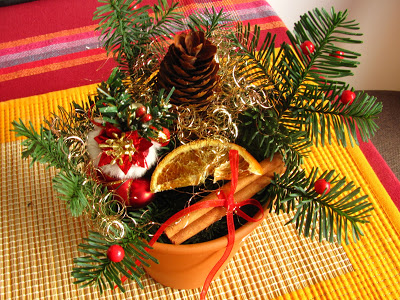
Do you want to have something different as a centre piece on your table? Then here’s the perfect potted X’mas deco with all the christmas colors for you. Here’s what you need:
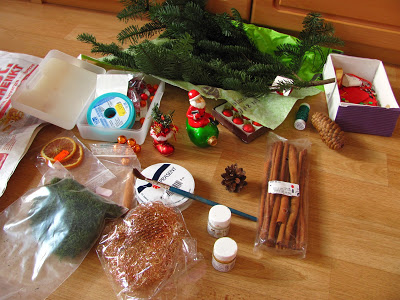
1. a small clay pot filled with mud
2. moss (available at florists or a nursery)
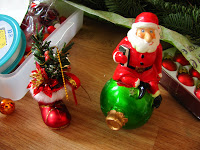
3. an ornament or X’mas figurine (something which maybe lying inside unused) 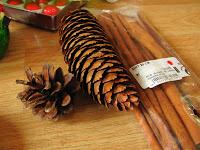
4. fresh pine leaves or greens/ferns of any kind (available at florists)
5. pine cones
6. cinnamon sticks, star anise, dried lemon wedges.
7. glitter or gold shavings.
8. red ribbons, beads and baubles
9. wire
Method:
Place the moss in the pot.
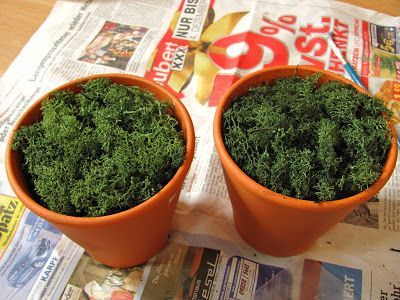
Place pine leaves all around the pot, by gently pushing them into the moss, making sure they are planted deep in the mud.
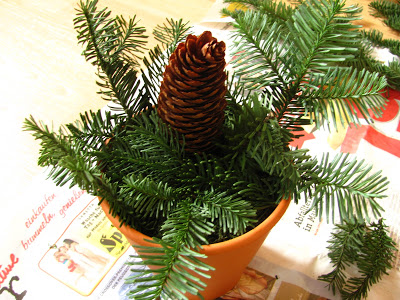
Then place a pinecone as shown in the picture. For it to be steady, wrap it around with wire at the base and then poke it into the moss.
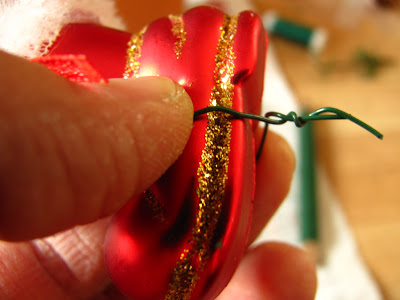
For this pot, I will be using Santa’s shoe as my ornament. I once again twist a wire around it and poke it into the pot. I have used green wire as it blends along with the leaves.
To fill in the gaps. place cinnamon sticks (can be tied with ribbons), dried lemon wedges or whatever you fancy. It can be baubles or star anise strung together. Sprinkle glitter or gold shavings around. Do not overdo it.
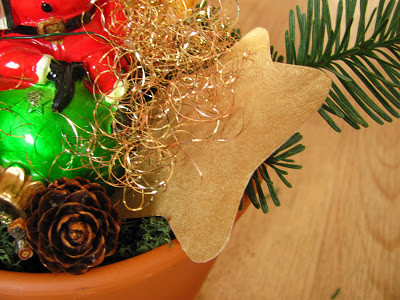
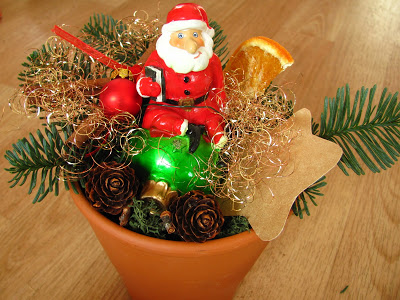
Finally place in beads into the pine leaves to give a merry berry look.
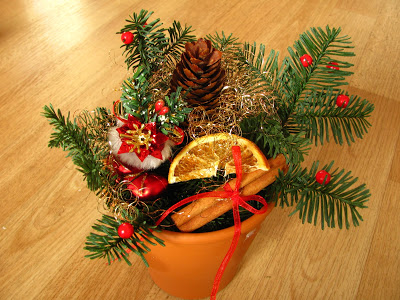
Place it wherever you please. Coffee table, dining or maybe next to your favorite christmas snap just as I have done.
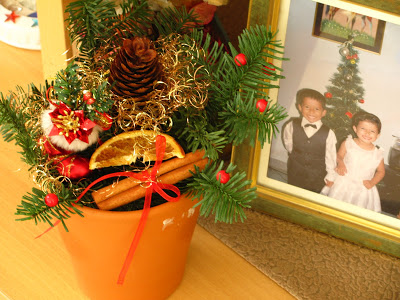
Your potted deco also makes for a very interesting Christmas gift for the people you love, more so because you have prepared it specially for them. Your potted deco is more about being imaginative. You can make cutouts of stars, bells, candy sticks with paper and use them too just as I have done in the second pot in the picture. To give a festive look while gifting, you can wrap the pot with tissue decked up with a ribbon tied into a bow. This pot lasts for a month without withering.
Note: If you want to make a permanent pot, then artificial pine leaves maybe used. In such case, florists foam maybe used as a base instead of mud.
A million thanks to Sharon for having given me the opportunity to write a tutorial for The Keybunch. I hope you are inspired to get more creative this festive season!!!
Cheers!!!
=====================================================
Thank you May, for spreading some cheer! This will be added to our Christmas Carnival.
Don’t forget to drop in at our Carnival page and check out all the interesting X’mas posts lined up there!




Sharon, its early in the morning and I have logged on just to read the post!!! Once again, thanks a million for featuring me on The Key Bunch…:D
Cheers,
May.
Thats a lovely tutorial!! It looks very christmassy!!
Loved the tutorial, looks really easy and do-able
Beautiful arrangement! thanks for sharing.
Looks very cheerful. Love all the color and the concept of using common items in/around the house to make this lovely centerpiece.
I love the arrangement with the oranges! I couldn't figure out how to work cinnamon sticks into mine, so I put them in a separate vase.
Here's a pic… they're all live branches: http://www.flickr.com/photos/starjewel/5253614868/
Awww.. These look so adorable. Perfect coffee table holiday decor. Love it!!
What prettiness and the pictures make it look all so simple! I love the idea.
Gorgeous!
Wonderful tutorial and I just love the finished product!!
Nice tutorial… Good one